Every time I walk through a subway station with a Cinnabon,
I take pause and actually consider cheating with gluten just for the pleasure of one
bite. You know exactly what I’m talking
about, that amazing smell of baking bread mixed with cinnamon and sugar. The only words I know to describe it are
mouth watering.

I have to confess, even with all of my baking experience,
I’ve always been a little afraid of yeast.
After a few bad experiences with it that I can now only attribute to old
(inactive) yeast, I think I’ve hit my stride.
If you’ve never worked with it before, it may take you a few attempts to
get the temperature of the milk right, know how long to let it sit and what
it’s supposed to look like when it’s ready.
You’ll get there, just make sure you are working with fresh yeast (there
is an expiration on the package) and have a little patience.
As a gluten free eater, I don’t have the luxury of cracking
open a tube of Pillsbury Cinnamon Rolls when I have a craving so I set out to
find a solution. After a few attempts at
recipes I found online with imperfect results, I did my standard “pick and choose”
bits of each recipe that I like and mash them together. I have to say, I’m incredibly pleased with
the results... I’ve just eaten 3.
Give them a try!
Dough
Wet
2/3 cup milk or substitute (I
used almond)
1 tbsp yeast
2 tablespoons butter, softened
¼ cup sugar
¼ cup vegetable oil
1 tsp vanilla
1 egg
Dry
¼ cup potato or tapioca starch
¾ cup cornstarch
½ cup millet flour
¼ tsp baking soda
2 tsp baking powder
2 tsp xanthan gum
¼ tsp salt
Dough Directions
1. Heat
milk until warm, not hot (slightly warmer than room temperature is fine). Add the yeast and stir gently until it is
moistened. Keep an eye on it, within a
minute or so it will start to bubble.
Let sit for about 5 minutes.
2. Add
the sugar, butter and oil to the milk and stir gently to combine. Add egg and
vanilla and combine.
3. Whisk
together dry ingredients until completely combined.
4. Add
dry ingredients to wet and stir until well combined. You may need to add a bit more millet flour
if the dough is super sticky.
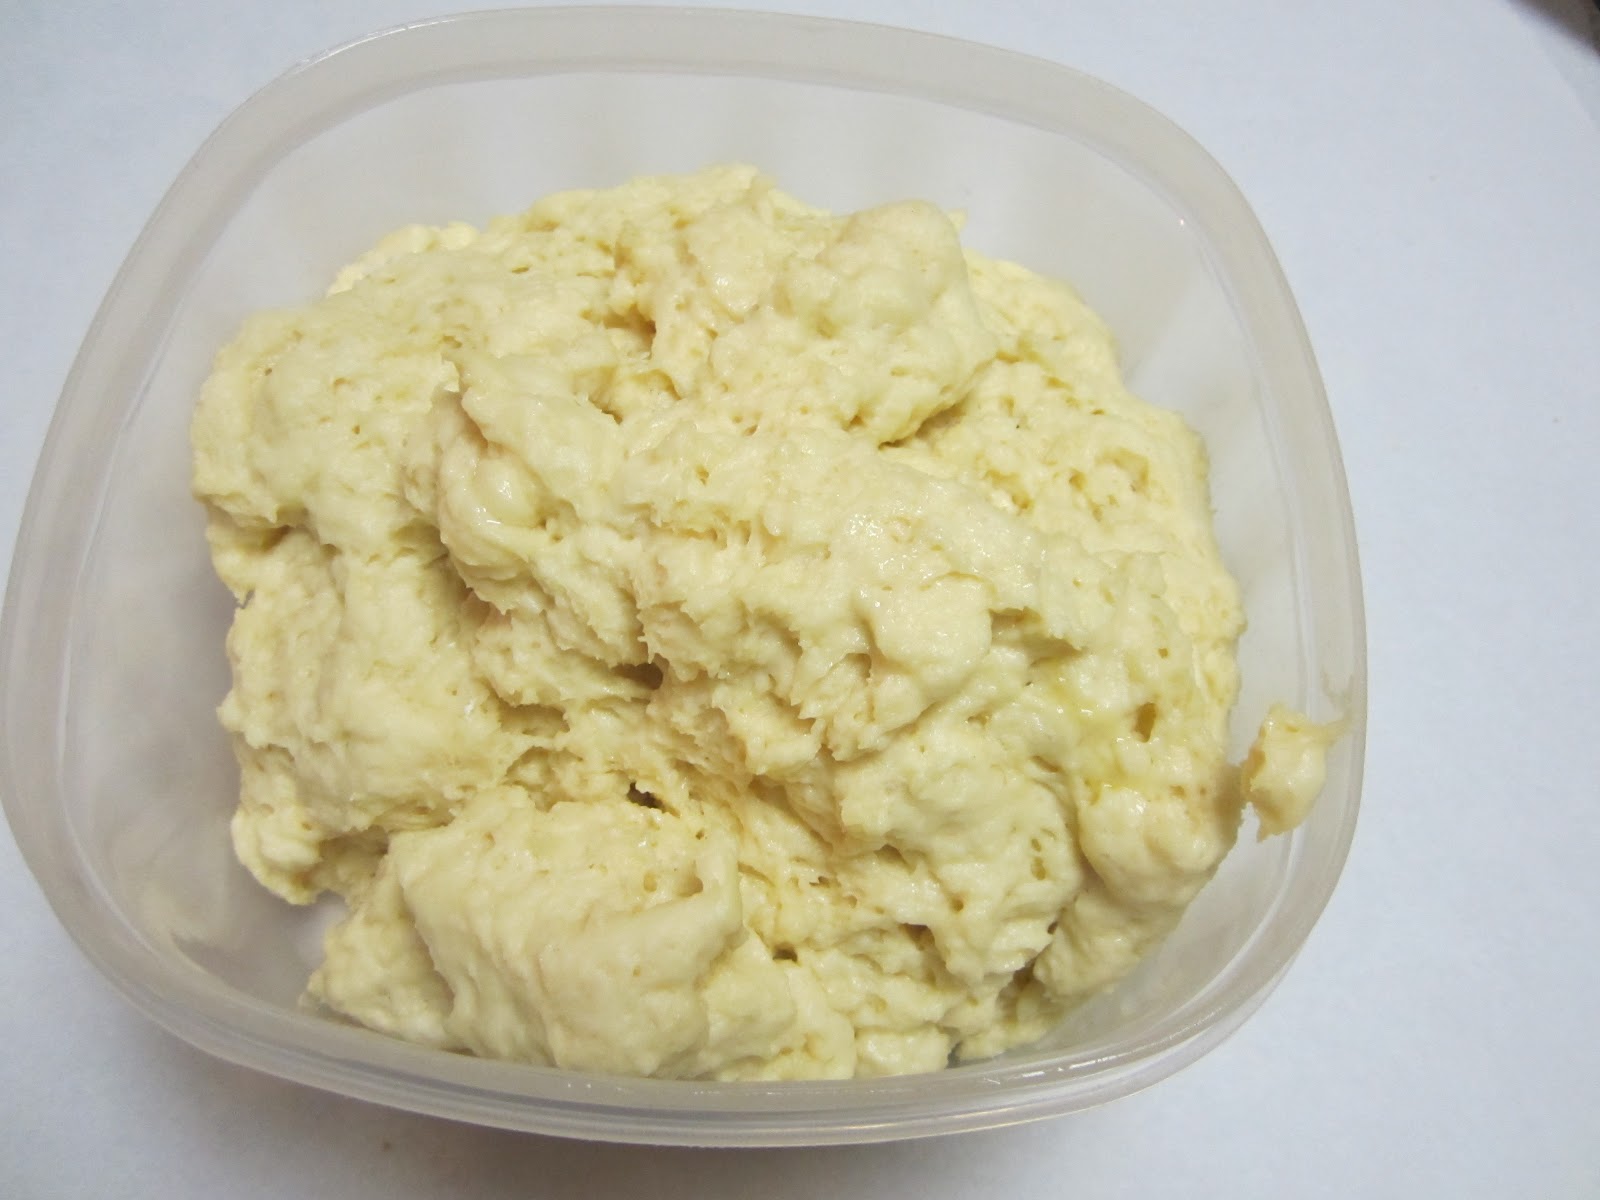
5. Transfer
dough to a large oiled, container with a lid.
Cover and place in a warm spot to rise for 45 minutes to an hour. For
this I usually turn my oven on to it’s lowest temperature (175 degrees on
mine), let it warm up and then turn it off, place the dough in to rise and prop
the door open a little with a wooden spoon.
It will double in size and be springy but still sticky.
Preheat oven to
400F

6. Lay
a piece of parchment paper on the counter and sift some millet flour evenly
over it. Dump the dough onto the floured
surface and sift more flour on top of the dough. Place a second piece of parchment on top and
roll out into a rectangle about ¼ inch thick.

Filling
1 ¼ cup brown
sugar
3 tbsp cinnamon
½ cup butter, softened

7. You
can either mix all of these ingredients together and crumble over the rolled
out dough or melt the butter a little further and brush onto the dough and
sprinkle the brown sugar and cinnamon over the buttered surface. I did the former this time because I couldn’t
find my basting brush but it doesn’t seem to matter.

8. Holding
the edge of the parchment paper closest to you, lift slowly and use it to roll
the dough into a log. It should come off
of the bottom parchment without sticking.


9. Using
a bread knife, slice the log into 10 even pieces and transfer to buttered
spring form or cake pan. Be sure to
leave a bit of space between rolls for expansion.

10. Bake
for 20 minutes until rolls start to brown.
You can test if they’re done by sliding a butter knife between rolls in
the center of the pan. If the dough doesn’t
stick, they’re done.

Icing
1/3 cup butter,
melted
1 cup powdered
sugar
¼ cup cream
cheese, softened
1 tsp vanilla
1 tbsp milk

11. Remove
the rolls from the oven and drizzle frosting while still hot.

Allow to cool
for 5 minutes and enjoy!
No comments:
Post a Comment